

How to Clean Your Cricut Mat, Machine, and Accessories

A Cricut is a fun tool that lets creative crafters cut and score nearly any design into hundreds of materials, including vinyl, paper and fabric. Cricut machines are ideal for projects like scrapbooks, stationery, and decorative vinyl decals. With appropriate care and maintenance, you can get years of use and hundreds of beautiful designs out of your Cricut machine.
When you cut any material, it will release tiny particles, fibers or dust. Leftover debris from your projects can get into your Cricut mats, the machine and the cutting blade. Each needs periodic cleaning so you can get continued use out of them.
Learn how to clean the Cricut Maker machine or the Cricut Explore, its adhesive mats and all your accessories with this guide for crafters.

How to Keep Your Cricut Mat Clean
Expect to replace your Cricut mats relatively often. They have a sticky top layer, which grips onto your paper, vinyl or other material. Your mat is crucial because it holds your material steady while the Cricut machine works its magic. If the mat loses its stick, your project could slip around during cutting, potentially ruining a perfectly good craft. The mats usually last a few dozen rounds through the machine before they lose their grip.
Because the mats are tacky, dust and other materials can get stuck to the surface. Cricut crafts are somewhat famous for posing a worthy challenge for crafters trying to remove their finished projects. Though the mats will eventually need replacement, you don't need to toss them the moment they lose their tack. Knowing how to clean a Cricut mat can help you restore the grip and give you a few extra uses out of it before it's time for a new one.
How often should you clean your Cricut mat? Generally, we recommend you clean it after every two to four cuts. This guideline is particularly critical if you're working with materials that leave lots of debris and scraps behind, like denim and glitter vinyl. Paper or standard vinyl won't dirty your mats quite as fast.
Here's how to clean your Cricut mat.

1. Determine Your Mat Type
Different types of mats will need slightly different care and cleaning. The good news is, the mats are color-coded and labeled, so it's easy to figure out what type you have.
- Light grip: The blue mat has a light grip for cutting standard office paper, thin cardstock, construction paper and regular vinyl. Using a stronger grip with these materials may make your craft challenging to remove.
- Standard grip: The green mat is for medium-weight materials, including corrugated cardboard, glitter iron-ons and glitter cardstock.
- Strong grip: The purple mat can handle heavier materials like balsa wood, thick cardstock, poster board, chipboard and leather.
- Fabric grip: The pink mat is especially for fabric. It requires special care compared to the other mats and will get dirty more quickly.
You can clean blue, green and purple grips using tweezers to remove scraps and a spatula for finished products. Baby wipes, a lint roller and soapy water will all help you keep these types of mats clean. If you have a pink fabric grip, you should not use water or wet wipes on the material. Also, a scraper could be too harsh and remove the mat's adhesive surface. Instead, use a lint roller or transfer tape to safely remove material scraps, fibers and debris from the sticky surface.
2. Gently Remove Larger Debris
Some crafters recommend scraping the mat itself to remove debris. Cricut makes a scraper you can use to scratch off leftover material. However, this method may push the debris further into the sticky surface, so it's not a good idea if your mat has lots of stuck-on material. Note that if you're using the Cricut Knife Blade, you'll create more dust and debris and should avoid any scraping.
The safest method to remove larger pieces of debris is with a set of tweezers.

3. Use Transfer Tape
You've probably heard that the pink Cricut mat needs special care. You cannot use water or baby wipes on it, and a scraper will ruin the adhesive. The fabric grip is one of the only types of mats that will continue holding its stickiness even after fabric fibers get stuck on. However, over time, a lot of fibers will eventually cover up the adhesive. The fabric mat will also get dirtier faster than other Cricut mats, especially when working with felt.
So how do you clean the Cricut fabric mat? One tried-and-true method is to use clear transfer tape instead of a scraper to pull up cloth debris safely. Because the tape is sticky, it can also transfer some adhesive onto the mat and restore some of its tackiness.
Here's how to clean felt off a Cricut mat — alongside any other fabric fibers — using transfer tape:
- First, cut a piece of tape to your mat's size and place it on top.
- Press the tape into the mat, and smooth it down using a scraper. Ensure the tape sticks well.
- Gently pull the transfer tape up. You should see the cloth fibers come up with it.
While this method is the preferred method for fabric grip mats, it's safe to use on any Cricut mat. It's gentler than using a scraper, so it can help you avoid pushing debris further into the adhesive.
Shop TapeManBlue Transfer Tape4. Use Baby Wipes
After removing the larger debris, going over the mat with a non-alcohol, non-bleach baby wipe should clear up light dust and dirt. They're gentle enough not to ruin the adhesive. To get the best clean, wipe down your mat slowly, using straight, even motions over the entire surface. Remember not to use baby wipes on your fabric grip mats!
5. Finish With Soap and Water
For thorough cleaning, especially when you want to avoid using a scraper, soap and water should do the trick. While running the mat under lukewarm water, scrub using a hard-bristled plastic brush. Use a gentle circular motion to remove stuck-on debris.
If water alone isn't enough, you can bathe your mat in a pan of soapy water. After a five- to 10-minute soak, lift the mat out of the bath and scrub off any leftover scraps with a small brush. Again, do not use soap and water on a pink fabric grip.
6. Air-Dry
Hang up your mat and let it air-dry. Do not use a paper or cloth towel to speed up drying, since these materials can get stuck to the adhesive. Once the mat is completely dry, the stickiness should return.

7. Keep the Cricut Mat Clean
Cricut cutter mats come with a clear film cover, which protects the sticky surface from dust. Always replace the film cover after using the mat.
Another way to prolong each mat's life is to use only approved materials. The different grips will make the mat ideal for cutting specific materials, while being too strong for others. Using the correct grip for every project ensures you're not using materials that will be harder to remove later.
How to Clean Your Cricut Mat to Make It Sticky Again
If your Cricut mat has lost its stick, there's a good chance removing the dust and debris will restore the adhesive. If, after cleaning the mat, it still doesn't have its tack, it may be time for a new one. Replacement is the only manufacturer-approved solution for a mat that's lost its stick.
Some DIYers have found success restoring the grip with a spray-on adhesive. Cricut doesn't recommend doing this, as you could jam the machine with glue. It's critical to keep the outer edges of the mat free of any adhesive to avoid this. If you plan on resticking your Cricut mat with a DIY method anyway, proceed with caution and note that Cricut may not honor your warranty.
Here's how to restore a Cricut mat's adhesive in a pinch:
- Before beginning, read your spray-on adhesive's directions to completion. Each brand will have different requirements for spray distance and dry time.
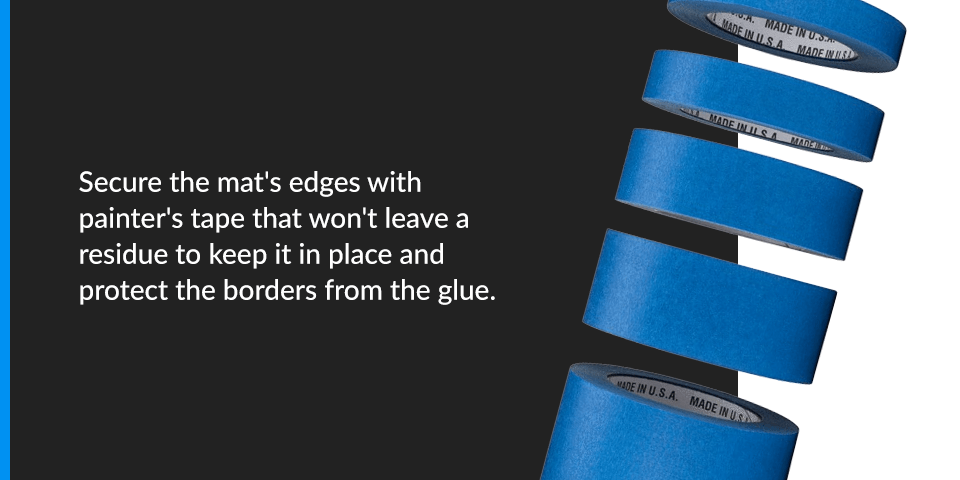
- Secure the mat's edges with painter's tape that won't leave a residue to keep it in place and protect the borders from the glue. Be accurate with your tape placement. Getting any adhesive on the non-sticky edges could ruin your Cricut machine.
- Remove any remaining adhesive from the mat to ensure your spray will provide an even coating. To do this, apply rubbing alcohol or a product such as a glue remover. Then, use a scraper to lift any remaining adhesive.
- Spray the adhesive using a slow, even motion to cover the mat entirely. Follow all directions on the spray's label. If your adhesive product requires you to brush the surface, do so.
- Allow the adhesive to rest and bond to the mat. After 15 to 20 minutes, or your preferred product's recommended bond time, you can remove your painter's tape. Inspect the finished product to make sure there's no adhesive on the edges.
How to Clean a Cricut Machine
Using your Cricut will eventually leave you with some debris and dust inside the machine. After cutting paper, fabric or any other material, small scraps and pieces of lint will make their way into the machine's inner workings. To maintain your equipment and get the most use out of it, you'll have to clean it periodically.
As you prepare to clean your machine, keep these rules in mind:
- Use only gentle cleaners, like alcohol-free baby wipes, and do not use any harsh chemicals like acetone.
- Do not wipe off the grease from the metal rods that hold the tool housing.
- Avoid touching the gear chain behind the blade housing unit.
- Turn the machine off while cleaning for your safety.
You can use the same method to clean a Cricut Maker Machine as you would to clean a Cricut Explore or any other Cricut model. The main difference is that a Cricut Maker has an adaptive tool system with more gears and is sensitive to some cleaners and motions. You'll use a slightly different technique to clean the Cricut Maker's tool housing component.
To clean your machine, you'll need some baby wipes, a gentle cleaner, canned air, paper towels, small brushes and a microfiber cloth. You can find some pre-packaged Cricut cleaning kits online or buy these materials separately.
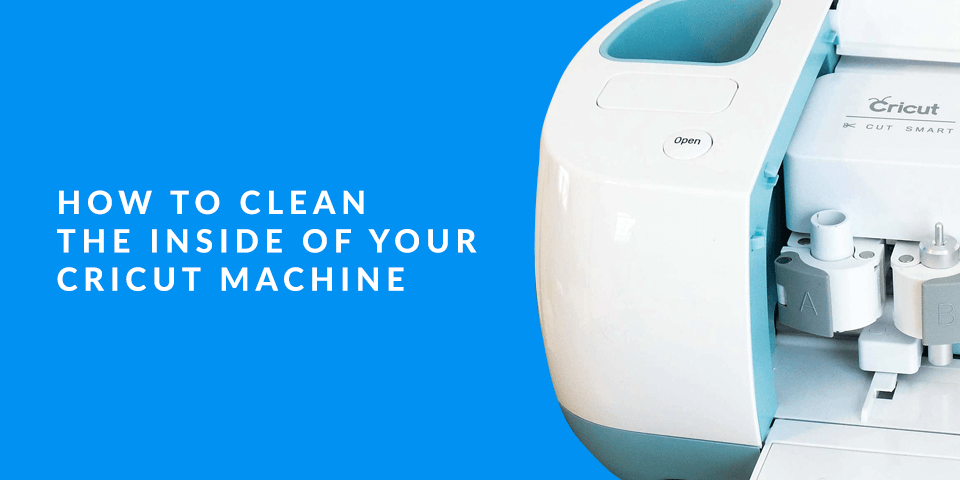
How to Clean the Inside of Your Cricut Machine
Before you begin, turn off and unplug your Cricut. Then, follow these steps:
- Open the machine and move the blade housing along the metal rod until it is all the way to the left. Remove the blade and the blade attachment from its clamp.
- Use a pressurized air can to blow air over the inside of the machine. Make sure to get under each of the trays, the side caddies and the clamps. Pay careful attention to the teeth in the back of the machine.
- With alcohol- and bleach-free baby wipes, wipe off the visibly dirty areas.
- Next, move all the roller stars on the metal rods to one side. Then, you can get underneath and between the rods with a small, soft-bristled brush. After dusting what you can reach, move the tool housing slightly to the right along the rod to brush the area underneath. Whenever you move the tool housing unit, push slowly and avoid jerking it. Don't push it too far over, since doing so could interfere with the machinery. Clean the areas between the metal bars, and be careful not to touch the chain that moves the tool housing. Once you've dusted out the area, push the blade attachment back in place.
- To remove all the dust kicked up by the brush, go over the metal bars with baby wipes. The rods have a lubricant, so be careful not to wipe it off. Pay attention to the rods' ends, which collect more dust where the oil lubricant builds up. Pull the excess grease along the rod using a soft-bristled flathead brush. If you get any lubricant on the side of the machine, gently wipe it off with a baby wipe.
- Do not add any grease to the rods. If you suspect the machine needs more lubricant, contact Cricut's support team directly. They can evaluate your device and send you a special kit and instructions for how to apply it.
- Use a soft-bristled, round-headed brush between the tool housing clamps. Remove the adapter and clean its clamp with the brush.
- When cleaning the Cricut Maker's adaptive tool system, be gentler with the tool housing. Do not use any cloths or brushes. Only use canned air around these delicate components.
- Wait for the inside of the machine to dry out after using baby wipes. You can then go in with a microfiber cloth to buff off the inside of the device and collect any remaining dust and wipe residue.
- Finish off with another quick spray of the air duster over the entire machine. Move the star wheels back into place, evenly spaced along the rod.
- Finally, turn on the machine. This step allows your tool housing unit to reset itself.
How to Clean the Outside of Your Cricut Machine
The outside of the machine can also collect debris from your cuts and ambient dust. Here's how to clean it off:
- Use a gentle cleaner around the machine's exterior. Make sure not to use too much of the chemical around the buttons, as excess liquid could damage the electronic components beneath. Spray some cleaner onto a paper towel, then rub off any scuff marks.
- After you remove all the scuffs, go over the whole machine with baby wipes. Be careful not to disturb the cartridge slot.
- Use a paper towel to dry off any excess liquid.
- Wipe down the machine with a microfiber cloth to pick up any remaining dust or residue.
- Go through all the exposed crevices on the machine's exterior with your canned air duster. Pay extra attention to the bottom gaps and the connection ports, which can collect a lot of dust.
- Open the machine, and go along the back gap along the bottom from the inside with your round-headed brush. Then, spray some canned air, aiming from the machine's front side, so the dust expels out the back.
How to Maintain Your Cricut Accessories
You'll want to keep all your Cricut accessories clean and in good condition. Two particular areas to keep in mind are the blades, which may grow dull, and the heat press, which can collect leftover iron-on material.

How to Clean Your Cricut Blades
The Cricut is compatible with many blades, each with a shape and sharpness for particular materials and cutting tasks. One issue many crafters run into is working with a worn-down blade. Sometimes, the best way to resolve this is by replacing it. However, debris on the blade itself may be making it duller. One solution to this is to clean your fine-point or deep-point blade with a tinfoil ball.
To try this aluminum foil trick, follow these steps:
- First, remove the blade with its attachment piece from the tool housing.
- Depress the plunger on the blade holder and carefully stick it into your foil ball repeatedly. This step will remove stuck-on pieces of paper or vinyl, and some crafters think it may also sharpen the blade.
- Before reinserting the blade attachment, remove the blade tip. Then, use a hard-bristled brush to wipe off any dust, and make sure to get some bristles into the cavity where the blade goes. Spray a little canned air into this area, too. Then, wipe it all down with a clean, dry paper towel.
- Reinsert the blade tip, then return the blade attachment to the tool housing.
Do this periodically to potentially extend your blade's life by up to a year. Use this trick before and after any project that involves intricate cuts.

How to Clean Your Cricut Heat Press
Your Cricut heat plate consists of aluminum with a nonstick ceramic coating. It's similar to the material on the metal part of a clothes iron. A store-bought iron cleaner should effectively clean your heat press from a bit of residue or dust.
When working with a heat press, you may occasionally stick some of the iron-on material directly to the heating plate if you misalign your fabric, forget a transfer sheet or apply the material the wrong way up. In that case, you'll need a more involved cleaning method. If you get any iron-on film on the heat press plate, use a rag to wipe it off while the surface is still warm. Use a thick rag, such as a towel, to avoid touching the press while it's hot.
If you let your heat-press cool with the iron-on material stuck on, the cleaning process may be a bit more complicated. To clean off any stuck-on iron-ons, first, heat your plate to around 350 degrees. Next, grab a store-bought iron cleaner designed to clean while the iron is hot. Apply some of the cleaners to a thick rag. Then, rub in a circular motion directly onto the leftover residue. Repeat this step if necessary.
When the heat press looks clean, try heat-pressing a white cloth to check that the iron-on material doesn't transfer.
Shop for Cricut Transfer Tape From TapeManBlue
TapeManBlue is your one-stop shop for all tapes, including clear transfer tape used for vinyl crafts with Cricut machines. Our transfer tape is also an excellent tool to remove debris from your Cricut mats. Whether you shop on Amazon or through our online store, you'll get quality, affordable American-made tape products for transferring die-cut vinyl onto other surfaces.
Do you have any questions about our products and how to use them with your Cricut? You can reach out to us any time.
Shop TapeManBlue Transfer Tape